+91 84849 90676
.cd78382e.png) info@artigenius.com
info@artigenius.com



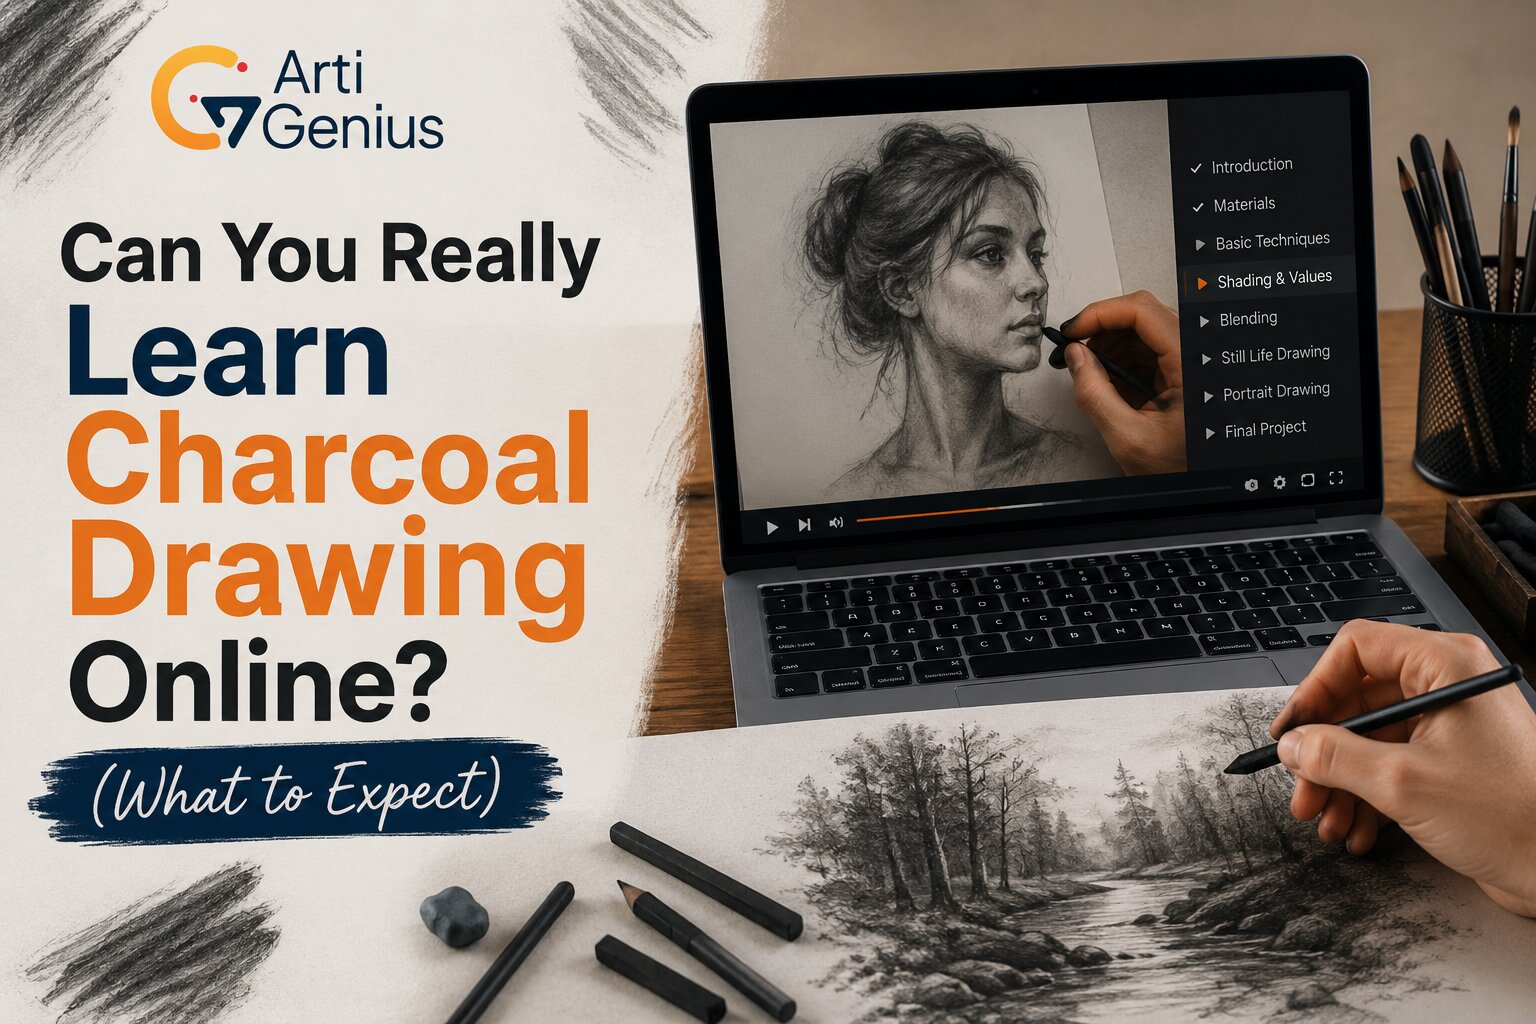
Charcoal is one of the most expressive, raw, and deeply satisfying mediums an artist can manipulate. It connects you directly to the paper in a way few other tools can. But because it is notoriously messy, highly tactile, and deeply reliant on subtle physical pressure, many aspiring artists ask themselves a critical question before investing their time and money: Can you actually master charcoal drawing through a computer screen, or do you absolutely need to be sitting in a physical art studio?
The short answer is yes, absolutely. In fact, online learning offers several distinct advantages for charcoal artists that traditional, brick-and-mortar classrooms simply cannot match.
This comprehensive guide breaks down exactly what to expect from a high-quality online charcoal course, how to overcome the digital learning curve, and how to set up your space to guarantee artistic success from the comfort of home.
Why Online Learning Works Exceptionally Well for Charcoal
Many beginners harbor the assumption that a tactile medium like charcoal requires an instructor to physically stand over your shoulder and adjust your hand position. However, digital art education has evolved dramatically, offering unique benefits tailored specifically to the nuances of charcoal illustration.
The Power of the Micro-Lens
In a physical classroom packed with 15 to 20 students, a live demonstration can be frustrating. You are often crowded around a small teacher's table, straining your neck to see over your shoulders, and trying to catch the fine details from several feet away.
Online courses completely eliminate this barrier by utilizing high-definition, overhead macro cameras. When an online instructor demonstrates a technique, you see it from a perfect birds-eye perspective. You can observe exactly how a willow stick fractures under specific pressures, the precise 45-degree angle required for a blending stump, and exactly how much surface tension is needed to lift a highlight with a kneaded eraser. You get a front-row seat that is physically impossible to achieve in a crowded room.
Infinite Rewinds for Complex Techniques
Charcoal drawing is not an additive process like painting; it relies heavily on a delicate dance of layering, erasing, and understanding "values" (the balance between the deepest darks and the brightest lights). Mastering value transitions takes time.
In a traditional workshop, once the teacher finishes a demonstration, it is gone. If your mind drifts for a second, you miss the crucial step. Online learning grants you the power of infinite rewinds. Being able to pause, slow down to half-speed, and re-watch an instructor build a seamless mid-tone gradation allows you to internalize the muscle memory at your own pace without feeling the pressure to keep up with the rest of the class.
The "No-Judgment" Home Studio
Let’s be honest: charcoal is beautifully chaotic. By the end of a solid drawing session, your hands will be black, dust will be on your clothes, and you might even have a accidental smudge across your forehead.
For many beginners, working in a room full of strangers while trying a brand-new skill can induce intense performance anxiety. Working in the comfort of your own home eliminates the self-consciousness of making mistakes, ruining a sheet of paper, or making a mess. You are free to fail, experiment, and learn without anyone watching your awkward first steps.
What to Expect in a High-Quality Online Charcoal Class
Not all online art classes are created equal. If you are shopping around for a program, you want to avoid generic, unedited video dumps. Look for a structured curriculum that explicitly guides you through these three foundational phases:
1. Material Demystification
A great online course won’t just drop a supply list on you and say "go buy charcoal." It will dedicate structural time to explaining the chemistry and physical properties of your tools. You should expect dedicated lessons breaking down the traits of the primary charcoal families:
- Vine and Willow Charcoal: These are raw, burnt twigs. They are incredibly soft, brittle, and powdery. Because they contain no chemical binders, they can be wiped completely off the paper with a simple swipe of your hand. Your course should teach you to use these for initial layout sketches, loose underdrawings, and mapping out your composition.
- Compressed Charcoal: This is powdered charcoal mixed with a clay or gum binder and pressed into hard sticks. It is intensely dark, rich, and heavy. Unlike vine charcoal, it grips the paper fiercely and cannot be easily erased. A good class will show you how to save compressed charcoal for your final, deepest shadows.
- Charcoal Pencils: These are compressed charcoal cores encased in wood. They can be sharpened to a needle-thin point, making them perfect for crisp edges, fine details, textures like hair, and the intricate highlights of a human eye.
2. Core Technical Drills
Before jumping into complex masterworks, a structured course will assign specific technical exercises. The most important of these is mastering subtractive drawing.
This is a classic charcoal technique where you deliberately coat a pristine sheet of paper entirely in a layer of dark vine charcoal dust, creating a flat, mid-tone grey canvas. Then, using a moldable kneaded eraser as a brush rather than a mistake-fixer, you "draw by pulling out the light." This shifts your brain away from drawing lines and forces you to think purely in shapes of light and shadow, which is the secret to photorealism.
3. Step-by-Step Guided Projects
The curriculum should transition smoothly from basic geometric forms to real-world applications. You should start by drawing a simple sphere to learn how light wraps around a curved edge. From there, the instructor should guide you through still lifes (understanding textures like glass or fruit), landscapes (learning atmospheric perspective through atmospheric dust), and eventually, portraits (learning the complex anatomy of the human face).
The Challenges of Online Art Learning (And How to Fix Them)
While digital learning is highly effective, it does present two major hurdles that physical classrooms don't have. Here is how a premium online course helps you conquer them:
Challenge 1: The Lack of Physical Feedback
Because an instructor cannot physically walk over and tap your shoulder, you run the risk of practicing a bad habit without realizing it. For example, you might be pressing so hard with a charcoal pencil that you are permanently scoring and denting the fibers of your paper.
- The Fix: Never buy a completely isolated "static" video course. Choose an online program that offers active feedback loops. Look for schools that feature a dedicated student community forum, weekly live Zoom critiques, or a digital portal where you can upload high-resolution photos of your weekly assignments to receive personalized, constructive audio or video feedback from the instructor.
Challenge 2: The Dreaded "Muddy" Drawing
The most common mistake online students make is over-blending. Watching a video can make blending look easy, leading students to use their bare fingers to rub the charcoal around continuously. The natural oils on your skin mix with the charcoal dust, creating a flat, greasy, grey smudge that ruins the contrast of the drawing.
- The Fix: Pay close attention to the instructor's blending tools rather than just their hands. A quality course will train you to use paper tortillons (blending stumps), chamois cloths, or even stiff, dry paintbrushes to control your gradients. They will teach you that keeping high contrast—leaving some areas completely unblended and crisp—is what gives an artwork life.
Your Beginner Checklist: Setting Up Your Home Studio
To maximize your investment in an online course, you need to set up an environment that mimics a professional studio before you click play on lesson one. Luckily, you don't need a massive budget.
- The Right Paper is Non-Negotiable: Do not attempt to use standard printer paper or smooth sketchbooks. Charcoal requires paper with "tooth"—a microscopic texture or roughness that acts like Velcro to hold the loose dust particles. Look for medium-weight drawing paper, specialized charcoal paper, or grey-toned papers (such as Strathmore 500 or Canson Mi-Teintes) which allow you to use both black and white charcoal simultaneously.
- Get Off the Flat Table: Drawing flat on a standard desk distorts your perspective, causing you to draw objects elongated because you are viewing the paper at an angle. Prop your work up. You can use an affordable tabletop easel, or simply tape your drawing board to a wall so that your eyes are looking directly at the paper at a perfect 90-degree angle.
- Establish a "Mess Strategy": Keep a container of wet wipes or a damp cloth directly next to your non-dominant hand. Clean your fingertips frequently throughout your lessons so you don't accidentally transfer hand oils or rogue black smudges to the clean, white borders of your artwork.
The Final Verdict: If you select a structured online course that prioritizes high-definition close-up video work, focuses heavily on material education, and offers a clear path for human feedback, you can master charcoal drawing just as effectively—and often at a fraction of the cost—as attending an in-person studio class.